
Transforming a plain room starts with the walls, and if you’re searching for bedroom wall drawing ideas, you already know that paint and paper can only do so much. A hand-drawn mural, a stenciled pattern, or a simple line-art piece adds personality that no store-bought decor can match. You don’t need fine art training to pull this off. With the right preparation, basic supplies, and a clear plan, anyone can turn a blank plaster surface into a focal point. This guide breaks down specific styles, materials, and techniques to help you execute your vision without ruining your drywall.
Key Takeaways
Acrylic paint is the best choice for bedroom walls because it dries quickly, emits low odor, and cleans up easily with water.
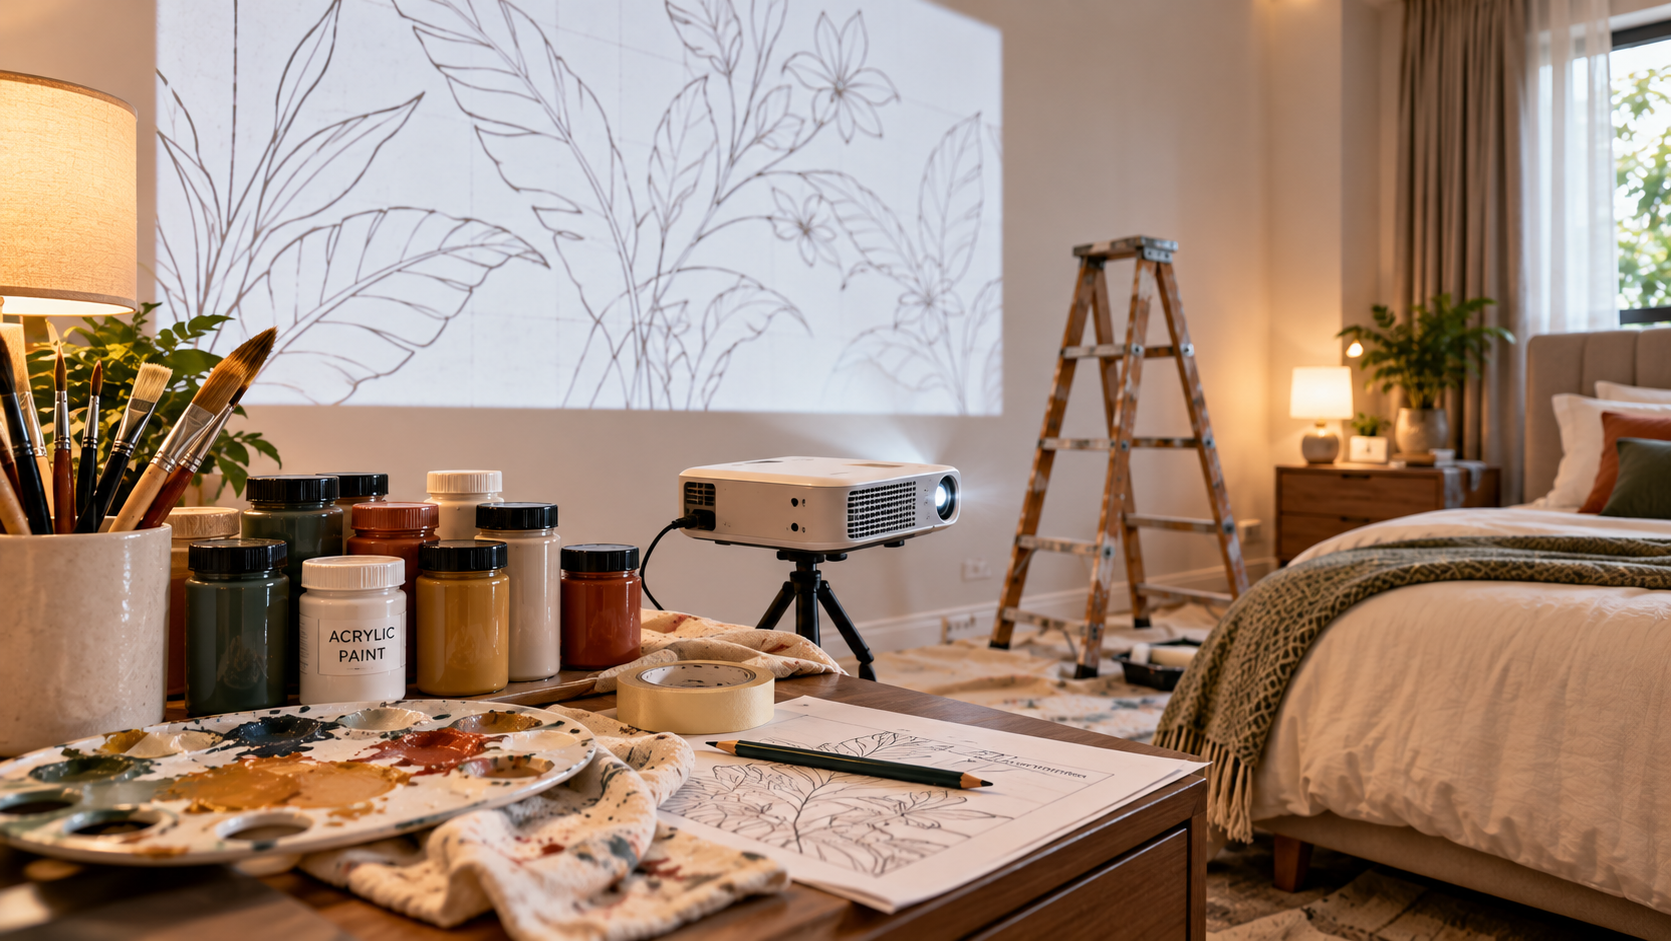
Use a projector or grid method to transfer complex designs accurately if you lack confidence in freehand sketching.
Always apply a coat of primer before drawing directly on drywall to prevent the paint from soaking in unevenly.
Painter’s tape is essential for creating crisp geometric lines and protecting baseboards, ceilings, and adjacent walls.
Seal your finished artwork with a clear matte varnish to protect it from scuffs, sunlight fading, and routine cleaning.
Preparing Your Wall for Drawing
Before any pencil touches the plaster, your surface needs proper preparation. Skipping this step causes paint to peel, colors to look washed out, and lines to bleed. Start by washing the wall with a mild detergent solution to remove dust, grease, and grime. Rinse it with clean water and let it dry completely overnight.
Next, inspect the surface for holes, dents, or cracks. Fill these imperfections with a lightweight spackling compound using a putty knife. Once the spackle dries, sand the patched areas smooth with 120-grit sandpaper. Wipe away the resulting dust with a damp cloth.
Apply a high-quality primer to the entire area where you plan to draw. Brands like Kilz or Zinsser offer reliable options that create a uniform, non-porous surface. Primer ensures your acrylics or markers glide smoothly and display their true colors. Allow the primer to cure according to the manufacturer’s instructions—usually twenty-four hours—before starting your design. Proper surface preparation guarantees your artwork lasts for years without chipping or fading.
Essential Tools and Materials
Gathering the correct supplies prevents frustrating mid-project trips to the hardware store. The tools you choose depend heavily on the style you want to achieve, but a few basics apply to almost every project.
Tool Category | Specific Item | Purpose |
|---|---|---|
Paint | Liquitex Basics Acrylics | Provides vibrant, opaque color that adheres well to primed drywall |
Brushes | Royal & Langnickel Synthetics | Offers various sizes for broad strokes and fine details |
Markers | Posca Paint Pens | Delivers precise, opaque lines without the mess of liquid paint |
Layout | FrogTape Painter’s Tape | Creates sharp edges and protects areas you don’t want painted |
Transfer | Graphite Transfer Paper | Traces printed designs onto the wall accurately |
Invest in good quality brushes. Cheap bristles shed and leave stray hairs stuck in your wet paint. Synthetic brushes work best with acrylic paint, as natural bristles absorb too much water and lose their shape. Keep a spray bottle filled with water nearby to mist your palette; acrylics dry rapidly, and keeping them slightly damp extends your working time significantly.
Popular Bedroom Wall Drawing Ideas
Choosing the right design depends on your room’s existing decor, your skill level, and the mood you want to create. Here are several proven concepts that work exceptionally well in sleeping spaces.
Botanical Line Art
Minimalist leaves, vines, and branches drawn with continuous black lines suit modern and Scandinavian bedrooms. This style requires very little paint—just a dark gray or black Posca marker or a fine detail brush loaded with thinned acrylic. It creates a calming, organic feel without overwhelming the space.
Geometric Color Blocking
Intersecting triangles, arches, and rectangles painted in muted tones like terracotta, sage green, and dusty rose offer a contemporary look. This technique relies entirely on FrogTape and a level rather than artistic drawing skills. You map out the shapes with a pencil, tape the edges, and fill them in with rollers or wide brushes.
Mountain Landscapes
Layered mountain silhouettes at the bottom third of the wall add depth and a sense of tranquility. By painting three or four overlapping ranges in progressively lighter shades of blue or gray, you simulate atmospheric perspective. This works beautifully behind a headboard.
Celestial Themes
Moons, stars, and constellations scattered across a dark accent wall create a cozy, nighttime atmosphere. Using metallic gold or silver paint against navy or charcoal backgrounds makes the celestial bodies pop. Stencils are highly effective here for maintaining consistent star shapes.
How Do You Transfer Designs?
Transferring a digital sketch or printed image onto a large wall intimidates many beginners. Fortunately, three reliable methods exist, ranging from low-tech to high-tech.
The grid method involves drawing a grid of equal squares over your reference image and a corresponding, scaled-up grid lightly in pencil on your wall. You then copy the contents of each small square into the matching large square. This classic technique builds spatial awareness and costs nothing but patience.
A digital projector offers the fastest, most accurate transfer. Mount an affordable LED projector on a tripod, cast your image onto the wall, and trace the illuminated lines with a pencil. Ensure the projector remains perfectly still while you work.
Graphite transfer paper works well for smaller motifs. Tape your printed design to the wall, slip a sheet of graphite paper underneath (carbon side facing the wall), and trace over your design firmly with a stylus or ballpoint pen. When you remove the paper, a faint outline remains for you to paint over.
What Paint Works Best Indoors?
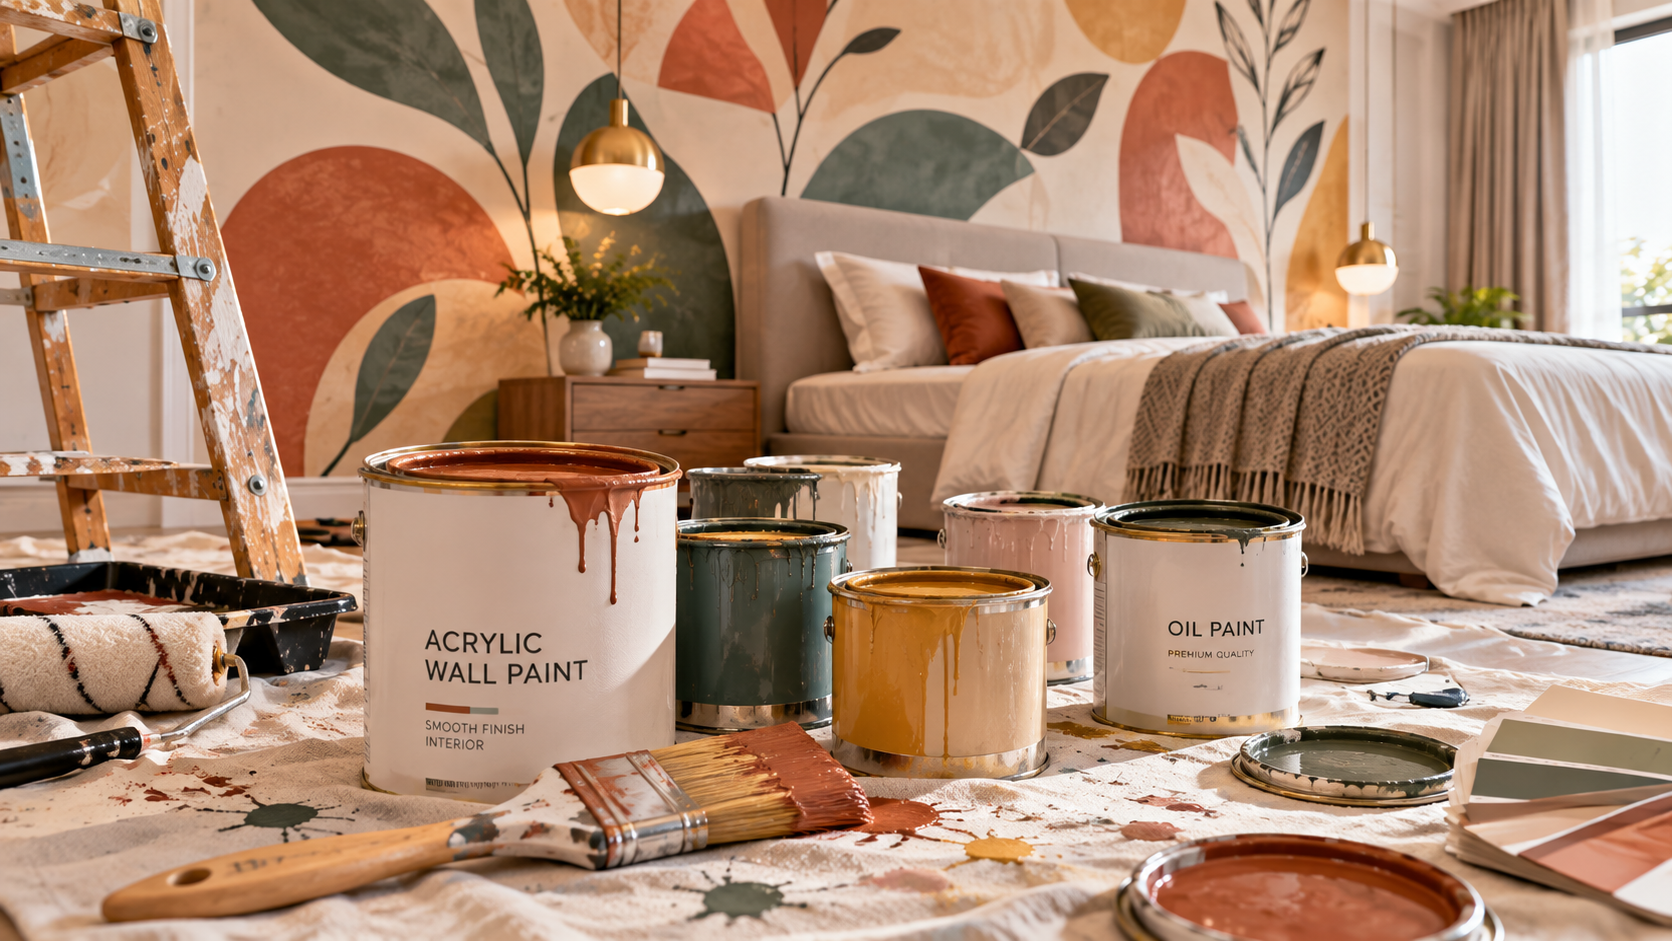
Not all paints are safe or practical for interior bedroom use. Oil-based paints emit strong fumes, require toxic solvents for cleanup, and take days to dry. They’re generally unsuitable for occupied bedrooms.
Water-based acrylic paint is the industry standard for interior murals and wall art. It contains low levels of volatile organic compounds (VOCs), dries within minutes to hours depending on thickness, and cleans up with soap and water. According to the EPA guidelines on indoor air quality, choosing low-VOC or zero-VOC products significantly reduces indoor pollution and health risks during and after application.
For fine details, text, or intricate line work, water-based paint markers like Posca or Montana Acrylic Markers provide better control than a brush. If you’re covering large background areas, standard interior latex wall paint from brands like Benjamin Moore or Sherwin-Williams is more cost-effective than buying artist-grade acrylics in small tubes.
Step-by-Step Execution Guide
Once your wall is prepped and your design is transferred, follow this sequence to execute the artwork cleanly.
Paint the background first. If your design sits inside a specific shape or requires a solid backdrop, roll or brush that base layer on and let it dry completely.
Block in large shapes. Work from the top of the wall downward to prevent dripping paint from ruining finished lower sections. Use larger synthetic brushes for these initial fills.
Add secondary layers. Once the base shapes are dry, paint overlapping elements. Acrylics dry fast, so waiting between layers rarely takes more than thirty minutes.
Refine edges. Remove any painter’s tape slowly at a forty-five-degree angle while the paint is slightly tacky to avoid peeling up dried layers. Touch up bleeding edges with a small angled brush.
Draw fine details last. Switch to paint pens or fine liner brushes for outlines, textures, and highlights. Doing this last ensures you don’t accidentally smudge delicate work while reaching across the wall.
Maintaining a systematic painting order keeps the process organized and prevents accidental smudging.
Should You Use Stencils?
Stencils bridge the gap between wanting a complex pattern and lacking the steady hand to draw it freehand. They’re ideal for repeating motifs like Moroccan tiles, damask patterns, or uniform polka dots.
You can purchase pre-cut mylar stencils from craft retailers like Michaels or Joann, or cut your own custom shapes from heavy cardstock using an X-Acto knife. When using a stencil, load your brush or roller with very little paint. Excess moisture seeps under the edges and blurs the design. Dab the paint on using a stippling motion rather than brushing back and forth.
Repositionable spray adhesive applied lightly to the back of the stencil helps it cling flat against the wall, further preventing bleed-through. While stencils limit total originality, they guarantee professional-looking consistency for repeating patterns.
Pro Tip: Always practice your stencil technique on a large piece of scrap cardboard before touching your bedroom wall. This allows you to gauge exactly how much paint to load onto your brush and perfect your dabbing pressure without risking your actual drywall.
Creating Accent Walls vs Full Murals
Deciding whether to cover one wall or the entire room changes your approach, budget, and timeline. An accent wall—typically the one behind the bedhead—draws immediate focus and anchors the room. It requires fewer materials, less time, and feels less visually overwhelming in a space meant for rest.
Full-room murals wrap the viewer in an environment. Forest scenes, underwater landscapes, or continuous geometric wraps demand meticulous planning to ensure patterns align correctly at the corners. Corners are notoriously difficult to navigate, as walls are rarely perfectly plumb.
Feature | Accent Wall | Full Room Mural |
|---|---|---|
Time Required | One to two weekends | Several weeks of evening work |
Material Cost | Low to moderate | Moderate to high |
Visual Impact | Focal point, grounding | Immersive, dramatic |
Skill Needed | Beginner friendly | Intermediate to advanced |
If you’re attempting wall art for the first time, start with a single accent wall. It provides a contained canvas where mistakes are easier to manage and correct.
Fixing Common Mistakes Easily
Even experienced artists make errors when working on a vertical, textured surface. Knowing how to fix them prevents panic.
If you draw a line in the wrong place with a pencil, kneaded erasers lift graphite without smearing it across the primer. If you make a mistake with wet acrylic paint, act quickly. A damp rag wipes away fresh acrylic effortlessly. If the paint has already dried, simply wait fifteen minutes for it to cure fully, then paint directly over the mistake with your background color. Acrylics are inherently opaque and forgiving.
Bleeding under painter’s tape is another frequent issue. To fix this, score the edge of the tape with a utility knife before peeling it off, which cuts through the dried paint film and yields a sharper line. Alternatively, seal the edge of your tape with a thin layer of the background base color before applying your contrasting color. This seals the gap and prevents the new color from creeping underneath. Understanding error correction saves you from repainting entire sections.
Protecting Your Finished Artwork
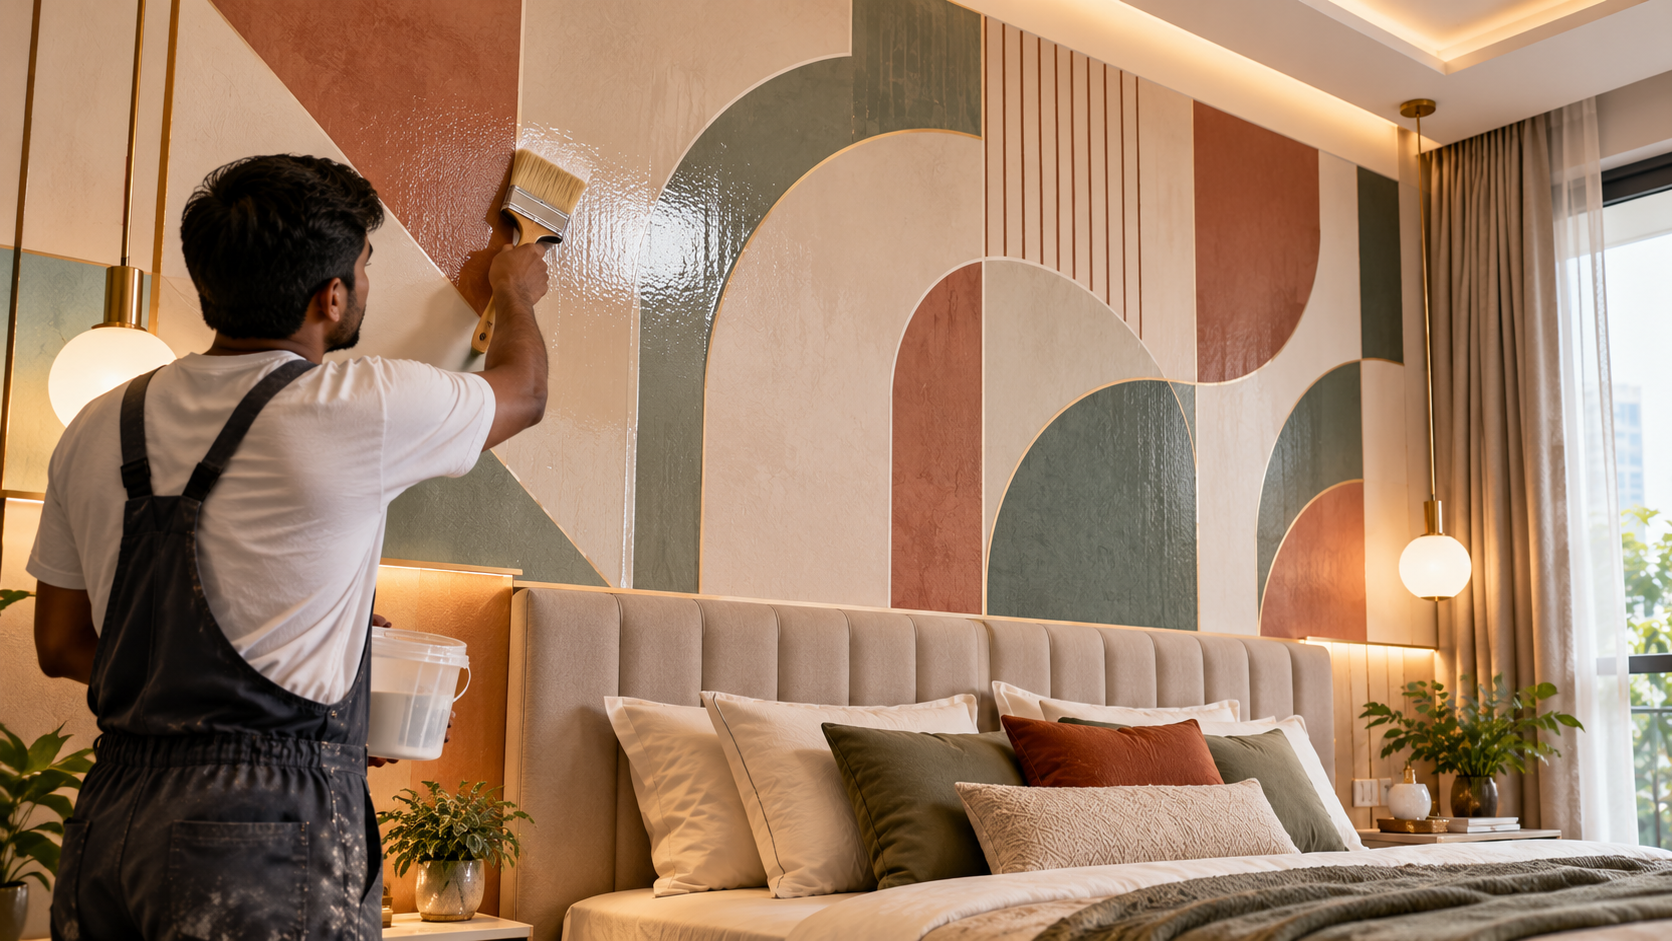
Bedroom walls endure more contact than people realize. Pillows rub against them, hands touch them when getting into bed, and sunlight streams through windows daily. Leaving your drawing unsealed invites premature wear.
Once your paint has cured for at least forty-eight hours, apply a protective topcoat. Use a water-based polyurethane or an acrylic varnish specifically designed for murals. Avoid oil-based varnishes indoors, as they yellow over time and emit lingering odors.
Apply the sealer with a wide, soft synthetic brush or a foam roller to avoid leaving visible brushstrokes. A matte finish is usually preferred for bedroom walls, as glossy sealers reflect light harshly and highlight every minor imperfection in the drywall beneath. Two thin coats offer better protection than one thick, drippy coat. This final protective coating ensures your hard work survives routine cleaning and daily life.
Warning: Never apply varnish over paint that’s still damp or tacky. Trapped moisture causes the clear coat to turn cloudy or milky, permanently ruining the clarity of your colors. Verify the paint is completely dry to the touch and odorless before sealing.
Frequently Asked Questions
Can I draw on wallpaper instead of drywall?
Yes, but the texture matters. Smooth vinyl wallpaper accepts acrylic paint and markers well. Textured or porous paper may absorb paint unevenly. Test a small, hidden area first. Lightly sanding glossy wallpaper helps the paint adhere properly without peeling later.
How long does a wall drawing project take?
A simple geometric accent wall takes about four to six hours, including drying time. Detailed botanical murals or full-room landscapes can span multiple weekends. Factor in at least twenty-four hours for primer drying before you begin any actual painting.
Are paint markers safe for bedroom use?
Water-based paint markers like Posca are non-toxic, virtually odorless, and perfectly safe for indoor bedroom use. Avoid solvent-based or oil-based markers indoors, as they release harmful fumes requiring extensive ventilation that’s difficult to maintain while sleeping in the room.
Will sunlight fade my wall drawing?
Direct UV exposure fades pigments over time. To prevent this, use lightfast acrylic paints rated for permanence. Applying a UV-resistant clear varnish as your final topcoat significantly slows down fading, keeping your colors vibrant for many years even near sunny windows.
How do I remove a wall drawing later?
If you change your mind, lightly sand the artwork to roughen the surface, apply a stain-blocking primer like Kilz to prevent the old colors from bleeding through, and repaint the wall with your standard interior latex paint. Complete removal requires drywall replacement.
Can renters do wall drawings safely?
Renters should avoid drawing directly on the landlord’s drywall unless permitted. Instead, paint large sheets of primed MDF board or heavy canvas panels, hang them with damage-free Command strips, and draw on those. This allows you to take your art when moving out.
Conclusion
Pick one specific idea from this guide, gather your acrylics, painter’s tape, and primer this weekend, and block out three uninterrupted hours. Start with a small geometric shape or a single botanical branch behind your nightstand to build your confidence before tackling an entire wall.