
Planning an led panel design for drawing room requires a 2-by-2 foot or 1-by-4 foot flat fixture rated between 3000K and 4000K color temperature, giving you 30 to 40 lumens per square foot across the floor. A standard 12-by-16 foot room needs roughly 6,000 total lumens, which you can deliver using four 15-watt fixtures spaced evenly across the ceiling drywall. This setup suits homeowners who want clean, modern ceiling lines without deep false ceiling framing.
What you’ll need
You’ll need specific hardware and basic measuring gear before cutting any drywall or running cable:
Edge-lit or back-lit LED flat panels: Choose standard 24-by-24 inch or 12-by-48 inch panels. Thin edge-lit units slip into shallow false ceilings, while back-lit models need at least 4 inches of interior depth to prevent bright spots.
Recessed mounting frames or surface kits: Match the frame size to your chosen panel. Surface-mount aluminum frames work on solid plaster or concrete ceilings where you can’t cut recessed openings.
LED driver: Look for an electronic low-voltage (ELV) or 0–10V dimmable driver matching your fixture’s wattage. Non-dimmable drivers will flicker or buzz if wired to a standard wall dimmer switch.
14/2 NM-B electrical wire: Use standard copper non-metallic sheathed cable for a 15-amp lighting branch circuit.
Drywall jab saw and laser level: A self-leveling cross-line laser keeps your layout square to the room’s main entry wall.
Non-contact voltage tester: Keep a basic test pen on hand to confirm power is dead at the fixture box.
Wire nuts and conduit connectors: Rated for 14-gauge copper conductors to secure connections inside the panel’s metal junction compartment.
You can substitute a surface-mount frame for a recessed drywall bracket, but you can’t swap a standard incandescent rotary dimmer for an LED-rated dimming switch without risking loud electronic buzzing. Working inside your main breaker box requires a licensed electrician to avoid electrical fire risks.
Step-by-step
Measure your room floor dimensions with a tape measure to calculate square footage, multiplying length by width to find total light requirements. Aim for 30 to 40 lumens per square foot for living spaces, and check product packaging according to the FTC Lighting Facts label to verify actual lumen output rather than relying on wattage alone.
Mark the center point of your ceiling using chalk or a cross-line laser, then measure outward in a balanced grid. If your ceiling height is 9 feet, keep your fixtures spaced roughly 4.5 to 5 feet apart from one another and 3 feet away from side walls.
Trace the inner edge of your recessed mounting frame directly onto the ceiling drywall with a pencil. Double-check behind the drywall with a stud finder so you don’t cut into wooden joists or air ducts.
Cut along your pencil lines with a manual jab saw, angling the blade slightly inward to keep the hole snug around the panel housing.
Shut off power at the main electrical panel, then confirm the circuit is dead at the ceiling box using your non-contact voltage tester.
Careful: If the tester beeps or flashes red near the ceiling wires, stop immediately; check your breaker panel labels and re-test until the circuit shows zero current.
Run your 14/2 NM-B wire from the wall switch box through the ceiling framing into the fixture’s integrated junction box. Strip 3/4 inch of insulation from the black, white, and bare copper wires using your wire stripper.
Secure your connections by twisting black to black (line), white to white (neutral), and bare copper to the green ground screw using approved wire nuts. Connect the low-voltage DC leads from the driver to the panel face via the quick-connect clip.
Tip: Tuck all mains-voltage AC wires completely inside the metal driver enclosure so they don’t pinch against the edge of the drywall cutout.
Push the spring-loaded retention clips upward against the sides of the panel housing and lift the unit straight into the drywall opening until the clips snap flat onto the upper side of the ceiling board.
Connecting your lighting circuit directly to the home’s primary service breaker panel requires an experienced electrician to maintain local building safety codes.
Ceiling layouts by room size
Room dimensions and ceiling construction dictate how many panels you need, how you mount them, and the labor required.
Room Type and Size | Total Installation Time | Primary Difference | Detail to Monitor |
|---|---|---|---|
Compact drawing room (10 x 12 ft) | 2 to 3 hours | Two 1×4 ft slim panels placed parallel | Driver heat accumulation in small ceiling cavities |
Standard living space (14 x 18 ft) | 4 to 6 hours | Four 2×2 ft square panels in a balanced box grid | Spacing from ceiling fan blades to prevent strobing shadows |
Open-plan formal hall (18 x 24 ft) | 6 to 8 hours | Six to eight 2×2 ft panels zoned on separate switches | Total wattage draw across long circuit wire runs |
Solid slab concrete ceiling (Any size) | 5 to 7 hours | Requires surface-mounting brackets instead of cutouts | Visual profile height of external aluminum framing |
It’s safer to install fewer panels on a dimmable circuit and add accent lamps later than to cut too many fixture holes across your ceiling.
How to tell you did it right
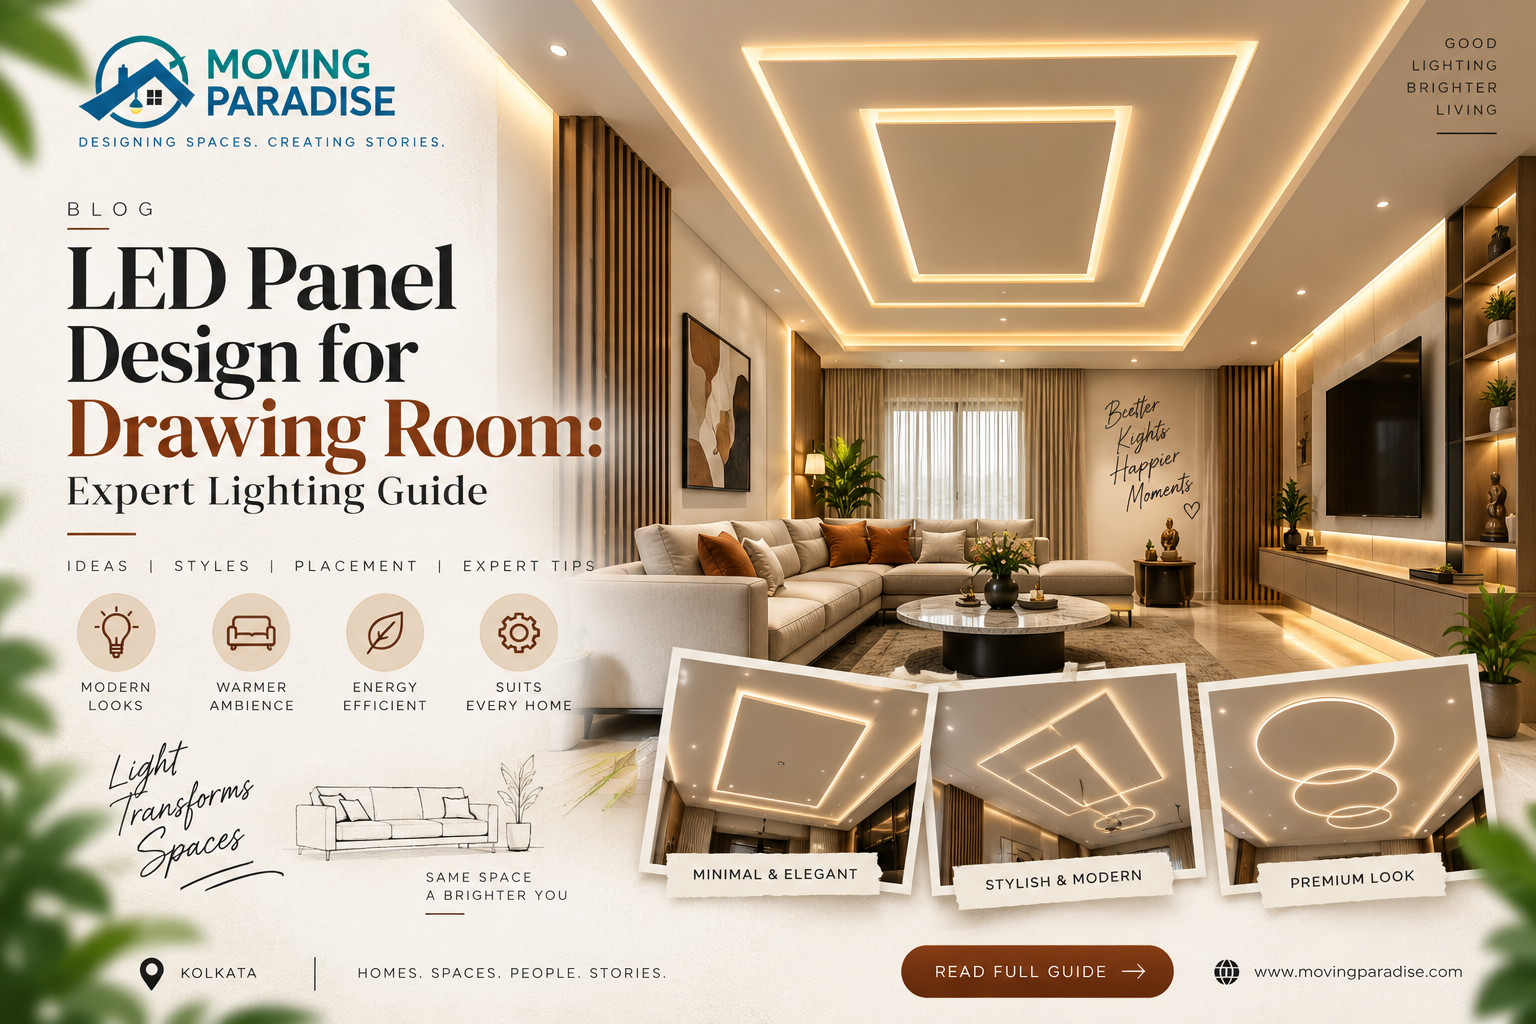
A correct installation produces a smooth, continuous wash of glare-free light across your furniture with no dark corners or visible shadows behind the panel frame. The outer metal flange sits flush against the drywall board without sagging, gaps, or light escaping through the sides. When you flip the wall switch, the panels should light up instantly without audible buzzing, delay, or visible stepping between brightness settings.
A poor result shows noticeable dark spots between panels, harsh glare when seated, or a high-pitched hum whenever you dim the circuit. Harsh glare happens because flat panels throw wide 120-degree light beams; if they sit too close to high-gloss walls or polished tile floors, the light bounces directly into your eyes. You can prevent this by keeping edge-lit panels at least 30 inches away from side walls and sticking to a warm 3000K or 3500K color range instead of cool 5000K daylight panels.
Building codes and post-work cleanup
Residential electrical work must comply with local building regulations based on the National Electrical Code (NEC), published by the National Fire Protection Association. The NEC mandates that ceiling fixtures installed in insulated cavities carry an “IC” (Insulation Contact) safety rating. If your ceiling holds blown-in cellulose or fiberglass batts, check that the fixture body explicitly carries this mark.
Once your panels are wired and secured, wipe the acrylic diffuser lenses with a dry microfiber cloth to remove oily fingerprints and ceiling dust. Vacuum fallen plaster chips from your carpet or baseboards right away so they don’t grind into the flooring. Save the installation manual, the driver model serial numbers, and any spare spring clips inside your home records binder.
LED drivers typically operate reliably for several years without maintenance, though this varies by model — check the label on your driver unit. If your home has older cloth-insulated wiring, hire a licensed electrician to evaluate the circuit before mounting new solid-state panels.
Alternative drawing room fixtures
Cove ceiling perimeter strips
You can build a shallow gypsum drop ceiling and tuck high-density LED tape inside the perimeter channel. This bounces light off the center ceiling rather than shining downward, giving you a softer, indirect glow. It takes more carpenter labor and increases project time, but completely eliminates eye strain from exposed ceiling lenses.
Recessed gimbal downlights
Instead of large flat panels, you install small 3-inch or 4-inch adjustable downlight cans across the ceiling layout. This layout lets you angle specific beams toward artwork, textured accent walls, or reading chairs. It creates higher visual contrast with deeper shadows, which works well for cozy evening spaces rather than bright family activities.
Surface track light rails
You mount an electrified metal track directly onto the flat ceiling surface and snap on several compact projector heads. This avoids cutting large openings into drywall and allows you to slide, add, or redirect lights as your furniture arrangement shifts. The track hardware remains visible on your ceiling, making it a distinctly industrial look that doesn’t suit traditional interiors.
Frequently asked questions

Can LED panels cause eye strain in a living room?
Yes, LED panels cause eye strain if you choose high color temperatures above 5000K or place them directly above eye level over your couch. To keep your eyes comfortable, buy fixtures certified under the ENERGY STAR lighting specifications with warm-white diodes between 2700K and 3000K. These provide balanced color rendering and diffuse light across the room without intense downward blue-spectrum spikes.
Why do my new ceiling panels buzz when turned on?
Buzzing occurs when an electronic driver receives an incompatible signal from an older phase-cut dimmer switch on your wall. Standard wall dimmers chop alternating current to lower output, which creates physical vibration in low-voltage drivers. You can stop the buzzing by replacing your wall control with an LED-rated digital dimmer or switching to a dedicated 0–10V dimming system.
How deep must a ceiling space be for recessed panels?
Ultra-thin edge-lit flat panels need only 1 to 2 inches of clearance behind the ceiling board, including space for their low-profile external driver. Back-lit panels need at least 4 inches of depth so their rear-mounted diodes diffuse evenly across the frosted faceplate. If your ceiling cavity is shallower than 2 inches, use a surface-mount frame kit instead.
What happens if an LED panel stops working?
The driver box fails before the LED diodes burn out in almost all cases. Because flat panels use external drivers mounted adjacent to the fixture, you can usually replace the failed driver through the ceiling opening without buying a whole new panel. Unclip the quick-connect plug between the driver and panel, pull the driver box down, and wire in an exact electrical replacement.
Is it safe to cover LED ceiling panels with attic insulation?
No, it isn’t safe unless the fixture body carries an explicit “Type IC” rating printed on its manufacturing label. Non-IC fixtures need a minimum clearance of 3 inches from all combustible materials and loose insulation. Covering a non-rated fixture traps heat around the driver board, cutting its operating life drastically and creating a structural fire hazard.
Final Thoughts
Once you’ve settled on your layout, it’s a good idea to test a single fixture against your wall color before committing to the full installation. You’ll find that seeing the light in person makes a world of difference. Don’t rush the process; take your time, and you’ll love the final look.