
A wall wardrobe design uses the full height and width of a room’s wall to build storage, typically running 84 to 96 inches tall in homes with standard 8-foot ceilings. It replaces freestanding closets with built-in shelving, hanging rods, and drawers that sit flush against the structure. This guide covers the framing, materials, layout choices, and load limits you’ll need to plan one yourself.
What a built-in closet actually is
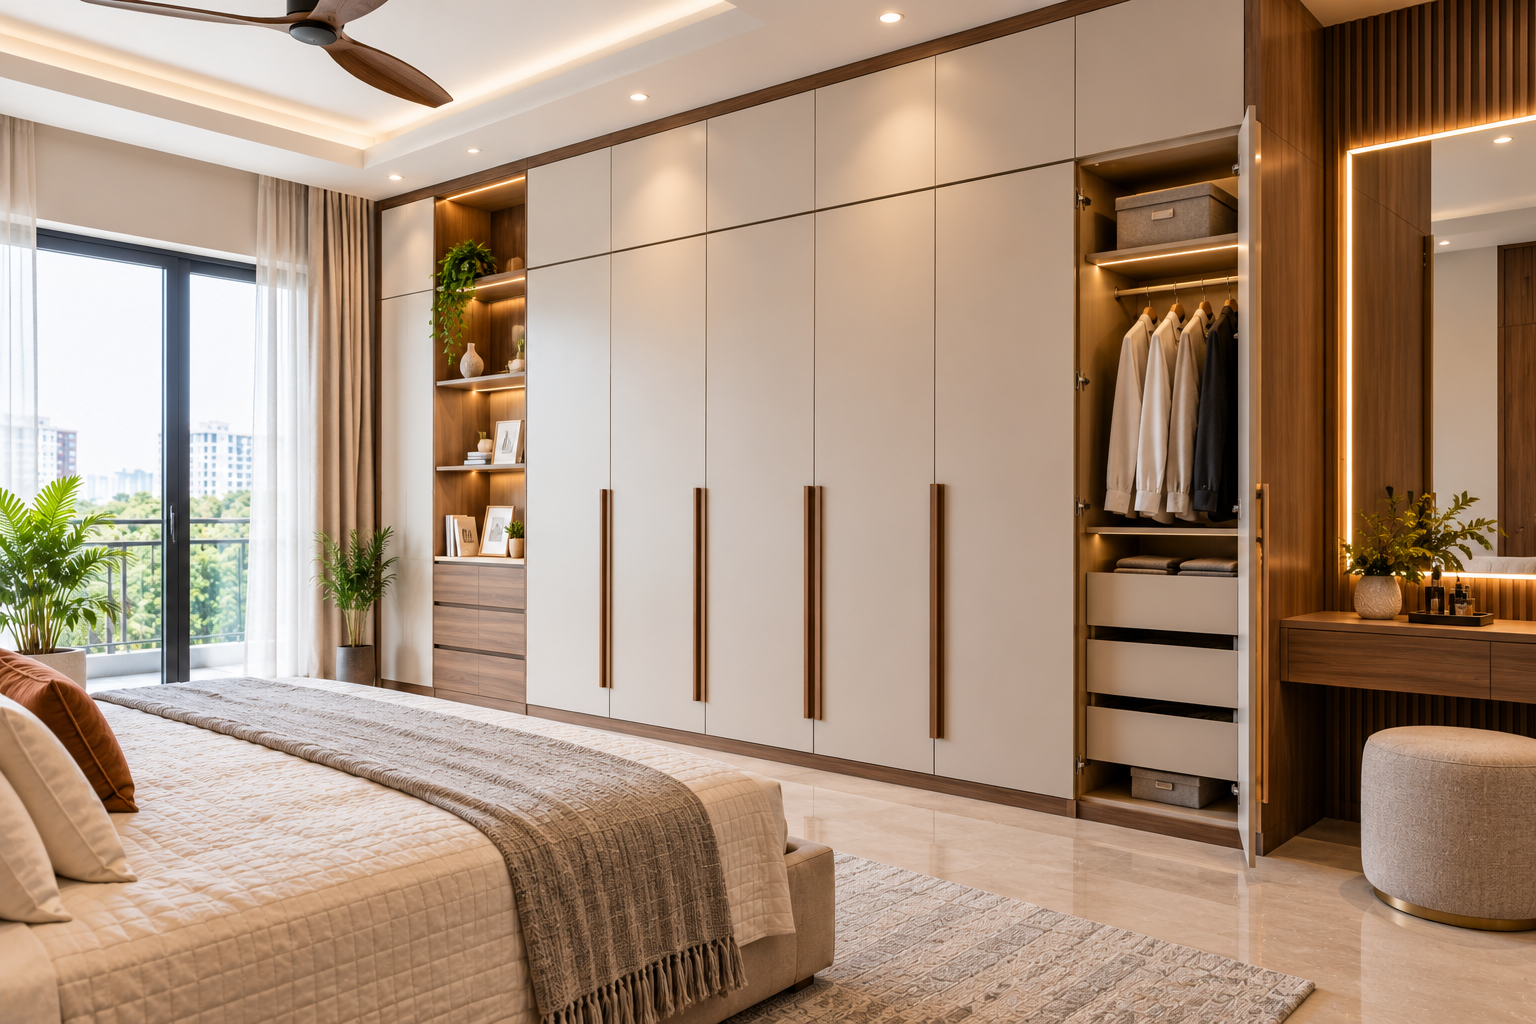
A built-in closet is a storage system anchored directly to a room’s walls and floor. It doesn’t move like a standalone piece of furniture. You use it to store clothes, shoes, and bedding without taking up extra floor space. It works well in bedrooms where square footage is tight.
People often think these units are just large cabinets pushed against a wall. They aren’t. A true built-in relies on the wall studs for support. The frame attaches to those studs so it can hold heavy loads safely over time. If it isn’t fastened to the structure behind the drywall, the weight of hanging clothes will pull it down.
The main misconception is that any flat wall works equally well, but walls with plumbing or electrical wiring inside them change everything. Hitting a pipe or wire costs thousands in repairs. That’s why checking the wall cavity comes first.
This approach fits anyone who needs permanent storage. Renters usually can’t use it because it alters the property. Homeowners get the most out of it.
How to frame a wall wardrobe
You start by measuring your space and cutting the frame pieces to fit. These steps assume standard 2×4 lumber for the frame and 3/4-inch plywood for the shelves in a typical 8-foot-tall alcove. For taller ceilings, add proportional length to the vertical supports.
Measure the wall’s width and height at three points each. Use the smallest measurement so the frame fits without forcing it.
Mark the stud locations along the wall using a stud finder. Studs are usually 16 inches apart from center to center.
Cut two vertical side panels from 3/4-inch plywood to match your lowest height measurement.
Attach a horizontal cleat (a strip of wood) to the wall studs at the top and bottom of your marked area. Use 3-inch wood screws driven into the studs, not just the drywall.
Stand the side panels against the cleats and screw them into the wall studs every 16 inches.
Install horizontal shelf supports between the side panels. Space them 12 inches apart for folded clothes or 40 inches apart for hanging rods.
Add the back panel using 1/4-inch plywood nailed to the frame edges to keep the structure square.
Hang doors or install drawer fronts last, once the internal frame is fully level.
The single judgment call here is depth. If you go deeper than 24 inches, you’ll struggle to reach items at the back. Keep it at 24 inches for hanging clothes; if you only need shelves for shoes, 14 inches saves floor space. Cutting structural wall studs requires a building permit in most areas, so leave that work to a licensed contractor.
Wall wardrobe measurements and settings
These numbers give you the exact spacing needed to build a functional unit. Every measurement below assumes you’re working with standard adult clothing and an 8-foot ceiling height. Adjust proportionally if your ceiling is higher or lower.
Situation | What to use | How long | What to watch for |
|---|---|---|---|
Hanging long coats | Single rod | 65 inches from floor | Rod sags if span exceeds 36 inches without a center bracket |
Hanging shirts | Double rods | 40 inches between rods | Lower clothes drag if gap is under 38 inches |
Folded sweaters | Solid shelf | 12 to 15 inches wide per stack | Stacks wider than 15 inches fall over easily |
Shoe storage | Angled shelf | 14 inches deep | Flat shelves need 16 inches to fit larger boots |
Top storage bins | High shelf | 80 inches from floor | Anything higher requires a step stool to reach safely |
Drawer clearance | Bottom space | 6 inches above floor | Less clearance catches on thick carpets when opening |
If your ceiling is 9 feet instead of 8, add 12 inches to the top shelf height. Don’t stretch the middle sections, or your hanging clothes won’t align properly. Always measure twice before cutting the plywood, as custom cuts can’t be returned to the lumber yard.
Getting the layout right
The difference between a unit that works and one that fails comes down to the order you build it. Start from the floor up. If the base isn’t perfectly level, every shelf above it will tilt slightly forward. Doors won’t close right, and drawers will slide open on their own.
Use a 4-foot spirit level on the bottom cleat before you attach anything else. Shims—thin wedges of wood—go under the base where the floor dips. Don’t skip this part. A fraction of an inch off at the bottom becomes half an inch of lean at the top.
Experienced builders check the square shape after adding each horizontal shelf. They measure diagonally from corner to corner. If both diagonal measurements match exactly, the box is square. If they don’t, adjust the frame before driving the final screws. Leaving it out of square means your doors will never hang straight, no matter how much you adjust the hinges later.
Leave the back panel off until the frame is completely square. Nailing it on too early locks in any mistakes you’ve made. Once the frame is set, the back panel acts as a brace that stops the whole unit from swaying side to side.
Choosing the right material
Plywood holds screws better than particleboard. Particleboard swells and crumbles if water touches it, which happens easily near exterior walls where condensation forms. If your budget forces you to use particleboard, seal all edges with edge banding before assembly. Unsealed edges absorb moisture from the air over time.
For shelves holding heavy winter coats, use 3/4-inch plywood. Thinner boards bow under weight. The APA – The Engineered Wood Association publishes span tables showing exactly how far a sheet of plywood can stretch before it bends. Check their guidelines if you plan to make shelves wider than 36 inches without adding a center support block.
Fixing common framing problems
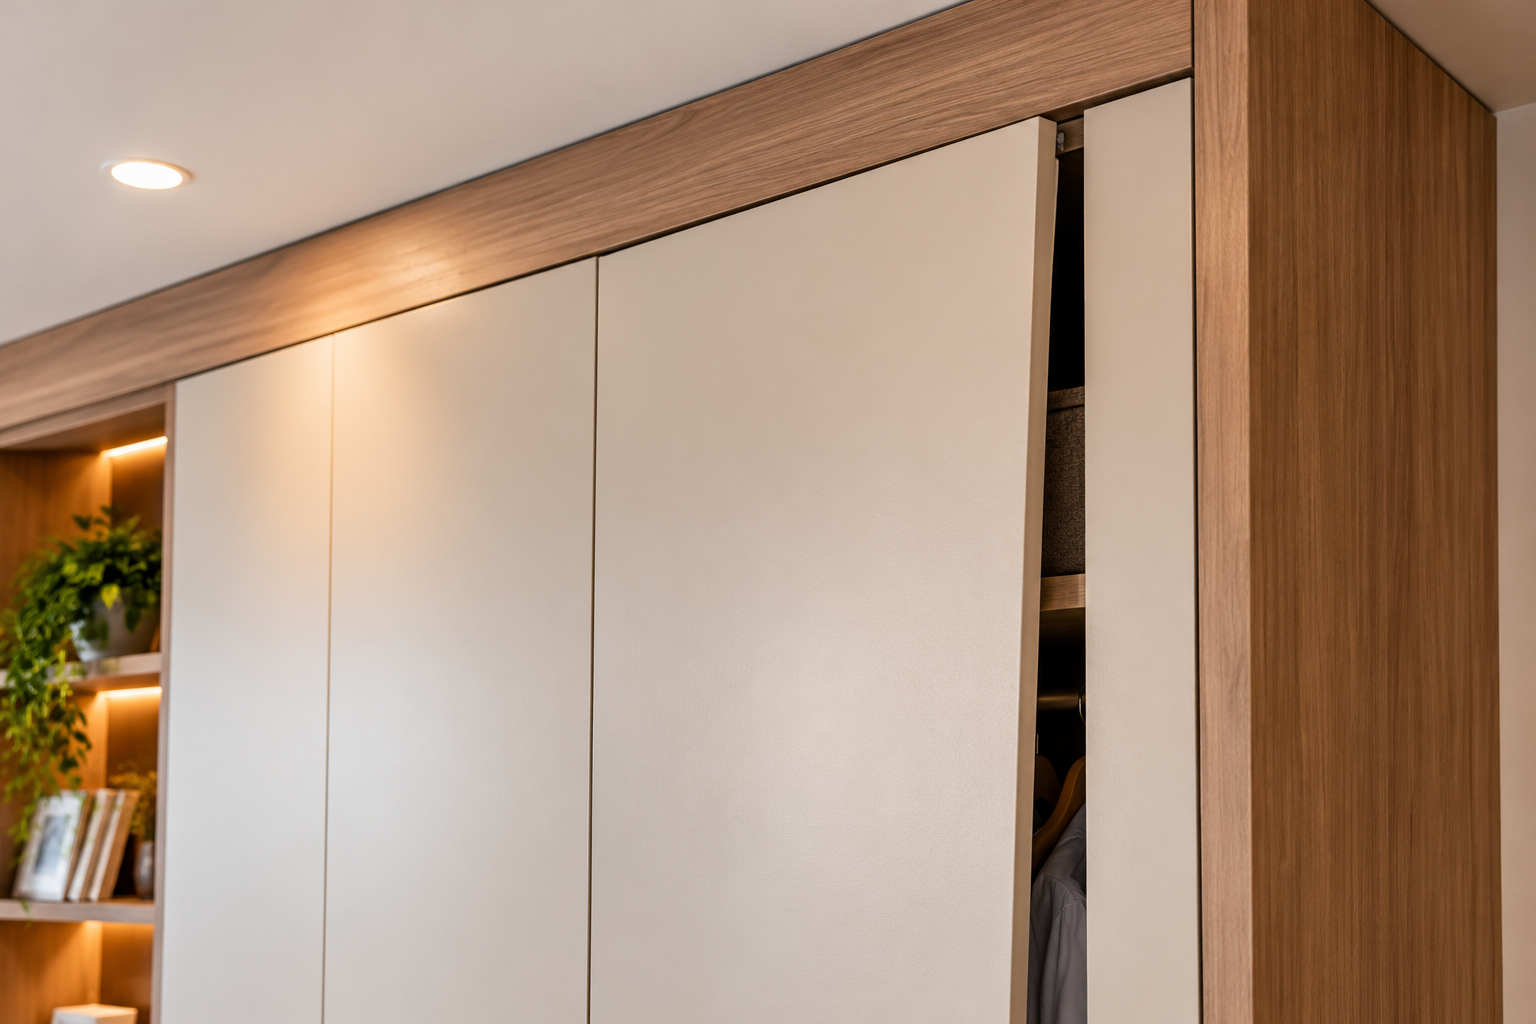
Things go wrong during installation, but the signs tell you exactly what to fix. Don’t ignore small gaps or slight tilts. They get worse as you add weight to the shelves. Match what you see to the table below to find the cause quickly.
What you notice | What it usually means | What to do first |
|---|---|---|
Doors rub against the frame | The unit isn’t square or the hinges are loose | Measure diagonals and tighten hinge screws |
Shelf bows in the middle | Span is too wide for the material thickness | Add a center support block underneath |
Drawers stick when opening | Side panels aren’t parallel to each other | Check distance between sides at front and back |
Frame pulls away from wall | Screws hit drywall instead of wooden studs | Remove screws, find studs, and reattach |
Visible gaps at the ceiling | Floor isn’t level or ceiling slopes downward | Insert wooden shims at the base to raise it |
If the frame pulls away from the wall, stop adding weight immediately. Drywall anchors alone can’t hold a loaded closet. You must drive 3-inch screws directly into the wooden studs behind the wall. Using shorter screws just hides the problem until the whole thing rips out.
Permits and load rules
Building codes dictate what you can and can’t do when attaching heavy structures to walls. In the US, the International Residential Code (IRC) sets the baseline for residential construction. Your local building department enforces it and may add stricter local rules.
If you’re only building inside an existing alcove without touching the wall studs, you usually don’t need a permit. But if you cut into a load-bearing wall to create a recessed closet, you absolutely do. Removing structural framing without proper support can compromise the house’s integrity. Hire a structural engineer for that job.
Shelves also have weight limits. A standard 3/4-inch plywood shelf spanning 36 inches holds about 50 pounds safely before sagging begins. Exceeding that limit risks the shelf collapsing onto whatever sits below it.
Always verify your local requirements. Building departments publish their specific permit thresholds online, or you can call them directly. Ignoring these rules might void your home insurance if something falls and causes damage.
Keeping the wood stable
Wood moves as humidity changes. A unit built in dry winter months might swell and stick when summer arrives. To prevent this, seal all exposed wood surfaces with polyurethane or paint. Bare wood absorbs moisture directly from the air.
Check the screws holding the unit to the wall once a year. Houses settle over time, and vibrations from closing heavy doors loosen hardware. Tighten any screw that turns easily by hand. Don’t over-tighten, or you’ll strip the hole in the wood.
Clean the tracks if you installed sliding doors. Dust builds up quickly in the grooves and makes the doors hard to move. Wipe them out with a damp cloth every few months.
If you used particleboard, watch the bottom edges near the floor. Mopping pushes water against the base. Even sealed particleboard degrades if it sits in standing water. Leave a small gap between the bottom trim and the floor so cleaning water drains past it instead of soaking in.
When a built-in is the wrong choice
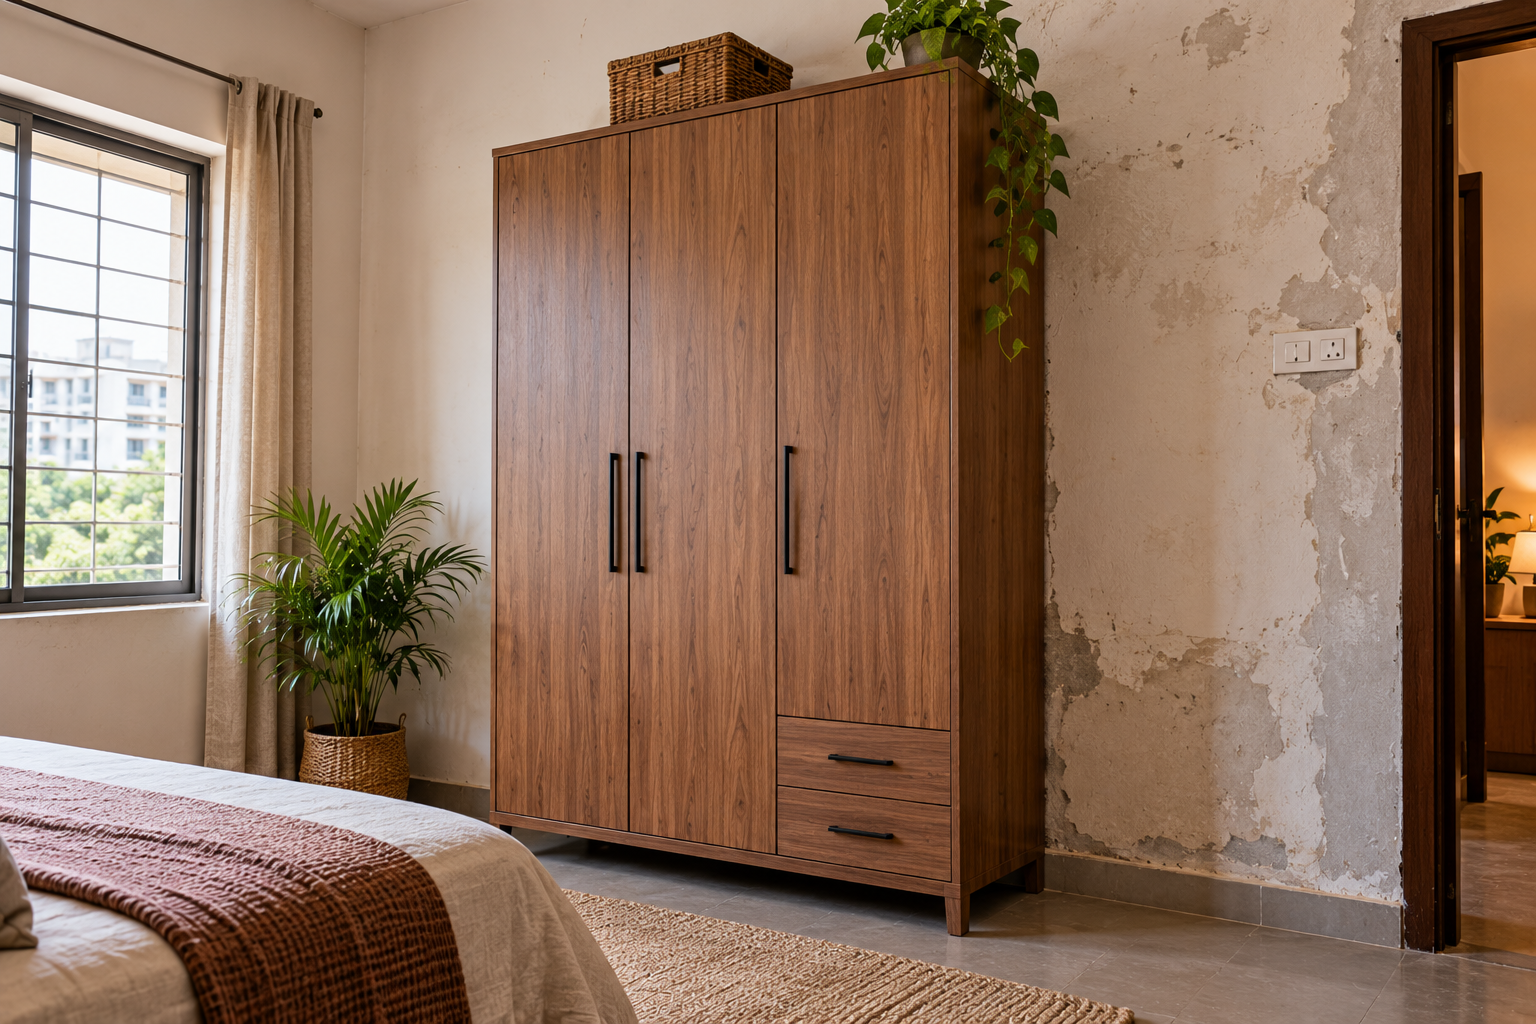
Not every room suits a permanent fixture. If you rent your home, a built-in violates most lease agreements because it damages the walls. Use a freestanding wardrobe instead. It gives you similar storage without altering the property.
Rooms with uneven walls pose another problem. Older houses often have plaster walls that bow inward or outward. Framing a square box against a curved wall leaves massive gaps that look bad and weaken the structure. Furring strips can flatten a wall, but that adds cost and labor. A standalone cabinet avoids the issue entirely.
Finally, if you only need temporary storage for a few months, building a permanent frame wastes money and materials. Buy a canvas wardrobe or modular shelving system. You can take it apart and move it when you’re done. Permanent installations only make sense when you plan to stay in the house for years.
Frequently asked questions
How deep should a wall wardrobe be?
24 inches is the standard depth for hanging clothes on hangers. If you only need shelves for folded items or shoes, 14 to 16 inches is enough. Going deeper than 24 inches makes it hard to reach things stored at the very back without moving items out of the way first.
Can I build a wall wardrobe without studs?
No. You can’t safely hang a loaded closet on drywall alone. Drywall anchors hold lightweight pictures, not hundreds of pounds of wood and clothing. You must anchor the frame into the wooden studs behind the wall to prevent it from falling forward.
How long does it take to build one?
A basic 6-foot-wide unit takes about 12 to 16 hours for someone with intermediate DIY skills. This assumes you’re working with pre-cut plywood and standard tools. Complex designs with multiple drawers or custom doors will take significantly longer to assemble.
Is MDF or plywood better for shelves?
Plywood is better for shelves that hold weight. Medium-density fiberboard (MDF) is heavier and sags faster under heavy loads. Plywood also holds screws tightly, while MDF tends to crumble around fasteners over time. Use MDF only for painted decorative panels, not structural shelves.
Why do my wardrobe doors keep swinging open?
The frame isn’t plumb, meaning it leans slightly forward. Gravity pulls the doors open when the hinges tilt past the center point. Place thin shims behind the bottom of the frame until a level shows it stands perfectly vertical, then secure it.
What happens if the shelves start bowing?
A bowed shelf means it’s carrying more weight than its span allows. Remove some items immediately to prevent it from snapping. Then, install a vertical support block in the center of the span, or replace the shelf with thicker 3/4-inch plywood.
How much weight can a hanging rod hold?
Wooden rods hold less. If you’re hanging heavy winter coats, space your support brackets closer together, about every 24 inches.
Conclusion
Every room has different dimensions, so the exact board lengths you need will change based on your own tape measure readings. Take your time marking the stud locations, because getting the foundation right makes the rest of the build straightforward. A solid frame stays quiet and square for decades, while a rushed one squeaks and shifts within months.