
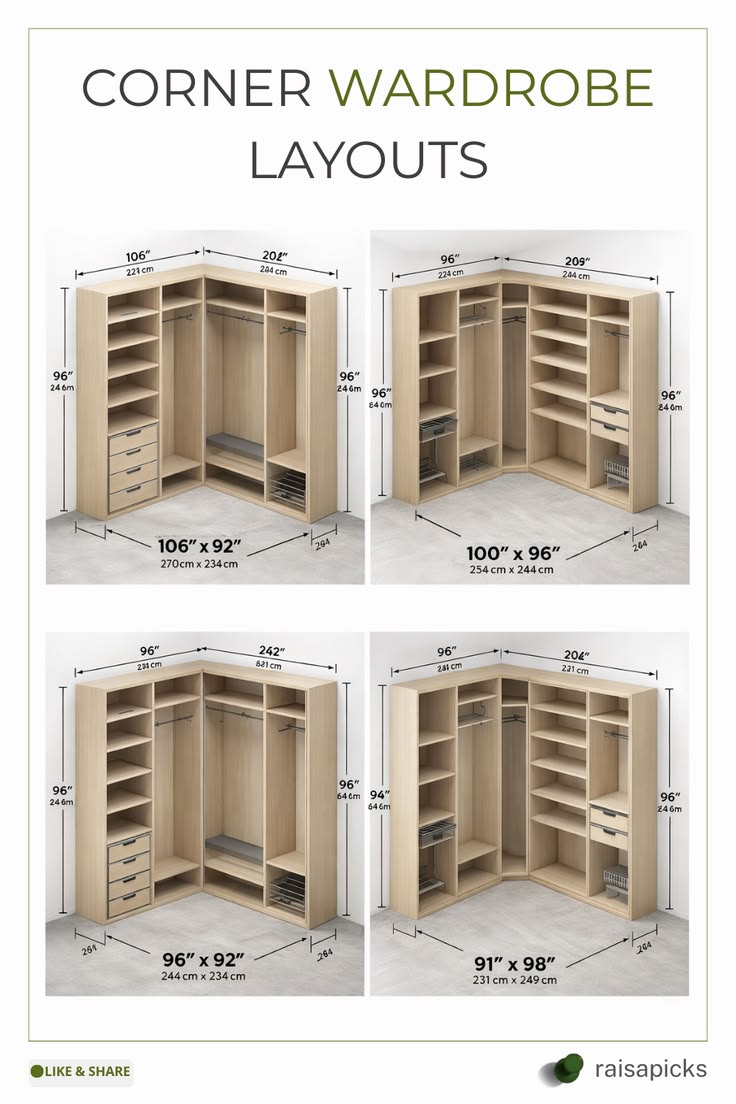
Effective corner wardrobe design ideas rely on L-shaped layouts or diagonal walk-in enclosures to maximize dead space. These designs typically reclaim 20 to 30 percent more storage area than standard reach-in closets.
Choosing between these styles depends on your room’s square footage, the depth of your walls, and your specific storage needs.
Who this is really for
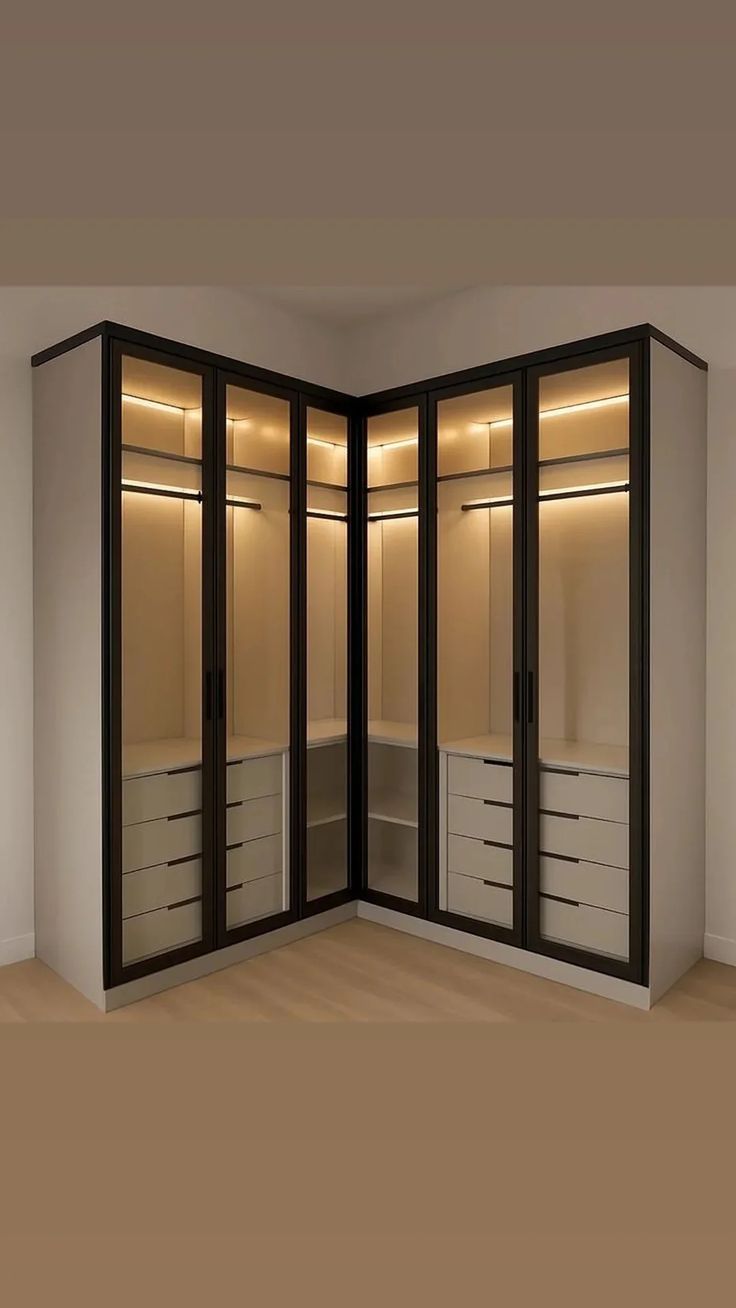
This guide serves homeowners and renters looking to renovate a bedroom or dressing area where floor space is limited. We assume you have a standard rectangular or square room and want to use the intersection of two walls to improve organization. If you’re a professional contractor looking for structural load-bearing calculations, this isn’t the right page; please consult local building codes. If you’re a DIY enthusiast with basic tools, this guide provides the layout principles you need. We focus on maximizing utility without needing custom-built, expensive cabinetry. The primary assumption here is that you possess at least 40 inches of clearance on both walls meeting at the corner to make a functional wardrobe installation worthwhile.
Optimizing the room footprint
The success of a corner unit depends on how well it fits into your existing floor plan.
The most common mistake is ignoring the “swing radius” of bedroom doors or existing furniture. If you place a bulky wardrobe near an entry, you lose valuable floor space. Always measure your available wall length starting from the corner. If you have less than 36 inches on each side, a corner unit will feel cramped and difficult to access.
Depth is the second factor. Standard hanging space requires 24 inches of depth. When two 24-inch deep units meet in a corner, they create a “dead zone” where the backs of the units overlap. You can use this space for seasonal items you rarely reach for, or install a rotating carousel to bring items to the front.
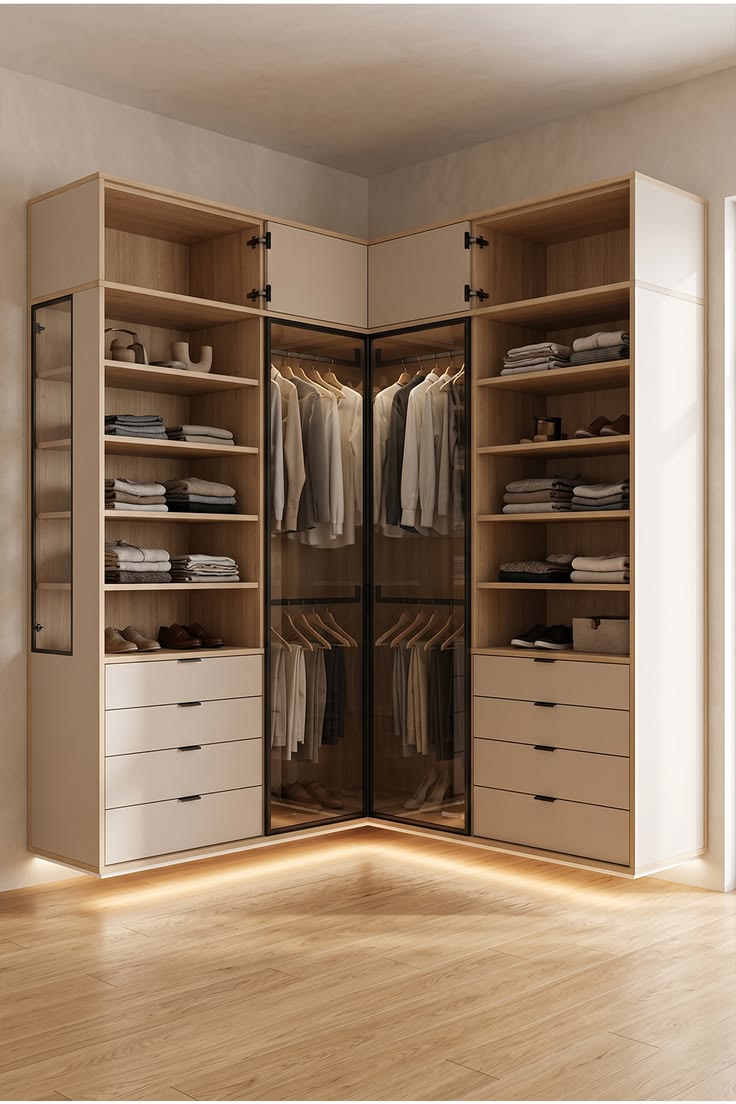
Lighting also changes the outcome. Corners are naturally dark. If you don’t add interior LED strips, you’ll struggle to see items tucked into the back. The Consumer Product Safety Commission notes that heavy furniture must be anchored to wall studs to prevent tipping, especially when using deep corner units that shift weight forward.
Step by step
Measure the wall length on both sides of the corner to confirm you have at least 40 inches of clearance.
Mark the floor footprint using painter’s tape to visualize how the unit impacts your room’s flow.
Select a modular system that allows for adjustable shelving, as fixed units rarely fit perfectly into non-square corners.
Assemble the corner frame first, ensuring it’s level; if the floor is uneven, use shims to stabilize the base.
Secure the unit to wall studs using heavy-duty brackets to ensure it remains stable when fully loaded.
Install hanging rods at the height of 60 inches for long garments or 40 inches for double-stacked shirts.
Add a corner carousel or pull-out shelf to the deepest section to make the hard-to-reach space usable.
Test the door hinges to ensure they clear adjacent walls or furniture when opened to the full 90-degree angle.
The judgment call is choosing between a diagonal door or an L-shaped opening. A diagonal door creates a walk-in effect but takes up more floor space, while an L-shaped opening keeps the room looking larger but requires careful planning to avoid “collision” between two opening doors.
Comparing your layout options
Several configurations exist for corner storage, and each serves a different room size and organizational goal.
Situation | Best Design | What it takes | Watch for |
|---|---|---|---|
Small room | L-shaped shelf | Low effort | Dead space |
Walk-in closet | Diagonal walk-in | High effort | Floor clearance |
Shared room | Split interior | Medium effort | Door swing |
High ceilings | Tall towers | High cost | Stability issues |
Limited budget | Open racks | Low cost | Dust buildup |
What separates a good result from a poor one
Precision in preparation
Experienced installers always check the wall angle before buying parts. Most corners aren’t perfectly 90 degrees, which causes gaps between the wardrobe and the wall. Use a carpenter’s square to check the corner; if it’s wider than 90 degrees, you’ll need to add a filler strip to bridge the gap. A clean finish hides these small variations and makes the unit look like a permanent, custom-built feature rather than a store-bought box.
Logical internal organization
Good design focuses on the “reach zone.” Place daily-use items between 30 and 60 inches from the floor. Keep the very corner of the wardrobe for items you use once a month, such as off-season coats or extra bedding. When you pack the deep corner, use clear bins so you can see what is inside without pulling everything out. The University of Kentucky suggests that effective storage relies on vertical space management to keep the floor clear.
What goes wrong, and what to do
What you notice | What it usually means | What to do first | How to stop it happening again |
|---|---|---|---|
Door hits wall | Wrong hinge type | Adjust hinge screw | Install door stopper |
Unit wobbles | Uneven floor | Add wood shims | Use wall anchors |
Dark interior | No lighting | Add battery LEDs | Install wired lights |
Hard to reach | Poor depth use | Add carousel | Use pull-out bins |
Gaps at wall | Non-square wall | Add filler strips | Seal with caulk |
Essential installation standards
Building codes and safety standards determine how you should mount your wardrobe. In the United States, the American National Standards Institute provides guidelines for furniture stability that you should follow to avoid injury. Always use the mounting hardware included with your unit, and if the wall is drywall, ensure you drive screws directly into the wooden studs. Never rely on plastic wall anchors for heavy wardrobes, as they can pull out under the weight of clothing. If your floor is carpeted, ensure the unit is properly shimmed and anchored to the wall studs to maintain stability. Any unit, especially those with drawers or doors, should be secured to the wall to prevent tipping.
What it costs you
The cost of a corner wardrobe varies based on your choice of materials and whether you build it yourself or buy a pre-made system. A basic modular kit made of particleboard is often quite affordable, while custom wood-veneer systems can be a significant investment. Your time is the hidden cost; a standard corner unit takes roughly six to ten hours to assemble and install correctly. You can lower costs by choosing open shelving instead of doors, but this requires you to keep your clothes very tidy. Always check the manufacturer’s website for the current price of specific models, as material costs change frequently. Spending more on high-quality hinges and drawer slides now prevents the frustration of sagging doors later.
Keeping it right afterwards
After installation, check the wall anchors regularly to ensure they remain tight. If you notice the wardrobe doors beginning to sag, adjust the hinge screws immediately; letting them hang misaligned puts extra stress on the frame and can eventually crack the side panels. To keep the interior clean, use a damp cloth to wipe down shelves, but avoid harsh chemicals that can strip the finish. If you notice a musty smell, it’s a sign of poor airflow; add a small moisture absorber or ensure the wardrobe isn’t packed so tightly that air can’t circulate. If you decide to change the internal layout, ensure the new weight distribution doesn’t exceed the weight limit specified in the original manual.
When this is the wrong approach
If your corner has a radiator, an electrical outlet that you need to access, or a window, a corner wardrobe is usually the wrong choice. Covering an outlet is a fire hazard, and blocking a radiator prevents heat from circulating through your room. In these cases, consider a low-profile dresser or a floating shelf unit that avoids the obstruction entirely. If the wall length is less than 30 inches on either side, the unit will be too narrow to hold standard clothes hangers effectively. Don’t force a corner design into a space that can’t accommodate it; consult a carpenter to see if a custom-built, shallow-depth cabinet is a viable alternative for your specific wall shape.
Frequently asked questions
Can I install a corner wardrobe on carpet?
Yes, but you must use a hard base or shims to ensure the unit is level. Carpet is soft and will cause the wardrobe to tilt forward, which makes the doors hang poorly and creates a safety risk.
How long does assembly take?
About six to ten hours for a standard two-piece corner system. This assumes you have the necessary tools like a drill, level, and stud finder ready before you begin the work.
Is it safe to store heavy items in the corner?
Yes, provided the unit is anchored to the wall studs. Place the heaviest items on the bottom shelf to keep the center of gravity low and prevent the entire unit from tipping over.
What happens if my walls aren’t square?
You’ll see gaps between the unit and the wall. Use a thin filler strip or paintable caulk to close these gaps for a professional, built-in appearance that hides the uneven surface.
Does it matter which side I build first?
Yes, always build the corner unit first. It acts as the anchor for the rest of the system, and it’s much harder to adjust the surrounding shelves if the corner piece isn’t perfectly level.
Why do my doors keep sagging?
The hinges have likely loosened from the weight of the doors. Use a screwdriver to tighten the adjustment screws on the hinge plate, which will align the doors back to the correct position.
What to do next
Start by clearing the corner and using a stud finder to mark the location of the wall supports. Once you have your measurements, purchase a modular system that fits your specific wall dimensions. If you see the unit leaning or feel it wobble while you work, stop and add additional wall anchors immediately.